So my second baby blanket…
This one is a pattern new to me
that I found here at Sarita Creative. I loved the fresh, modern look that it had, and I was also
in the mood to work a new pattern.
I had been playing around with
some colours from my Stylecraft stash, which I had ordered online from Deramores after reading so many good reviews about it. I had also just added to this with some extra colours as my
Aunt had made a request for a blanket in purple and pink shades, so I decided to stock
up while I was at it!!
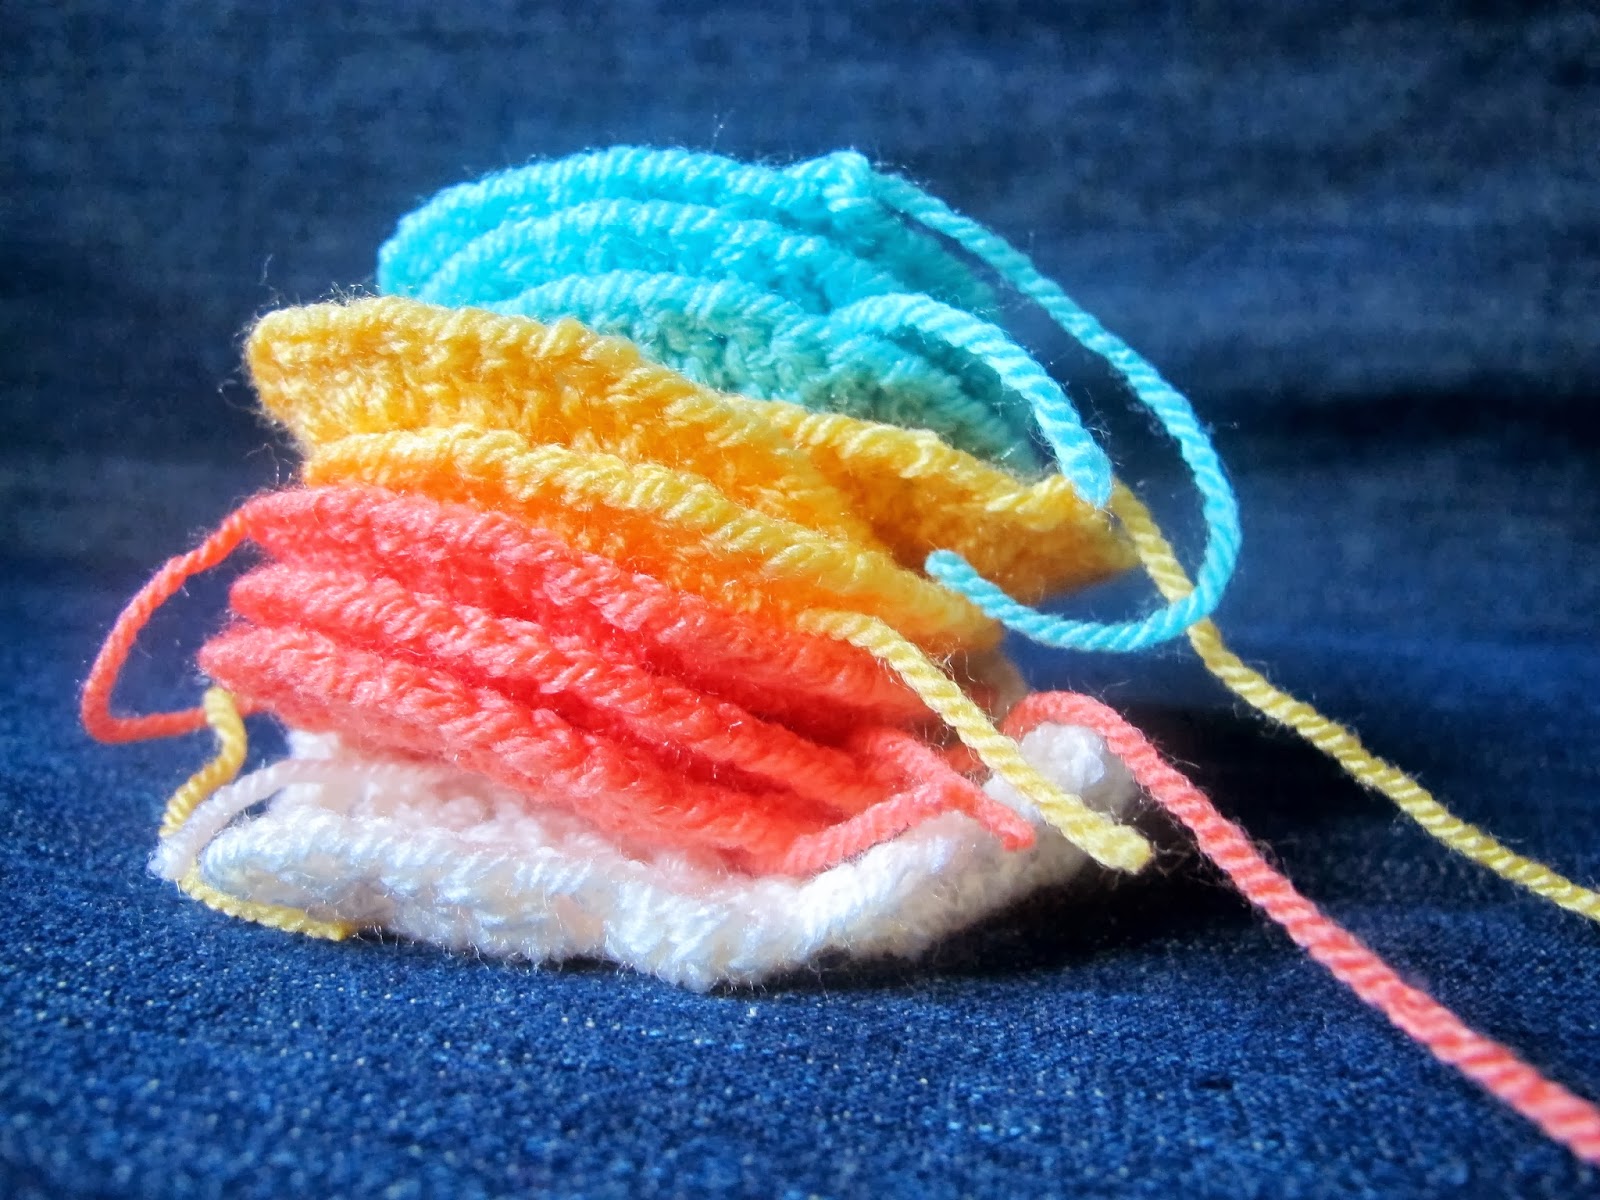
I had loved the way that the
Aspen (aqua colour), Saffron (yellow colour) and Fondant (pink colour) looked
together, and I thought that they might look pretty good as circles in a white
background. Then when my new Stylecraft order arrived in the post I found that while the Shrimp
(melon/coral colour) didn't work with the purples and pinks I had ordered it with, I liked it with the Aspen and Saffron even better than the Fondant!
 |
| Aspen, Shrimp, Cream & Saffron Stylecraft Special DK |
I wanted to work the colours so
that they looked scattered across a white background, and to add to this effect
I decided to make some of the squares totally white. This gave me four colour patches
to work with, so I planned the colours in square blocks of four. I used numbers
to work out a pattern that didn’t look too regular, but that also didn’t have
any clumps of the same colour near to each other – so the colours were evenly
distributed. This approach actually made me think that using Sudoku puzzles
could be a great way to plan colour distribution in any future blankets that
use 9 colour combos! After doing the number grid, I then drew myself another
grid to use as a ‘map’ for my squares, colouring in little circles so I could see
how it looked and follow it easily.
 |
| My colour map - ticking off the rows |
Then I began hooking up these
delightful little circles – they really are very straightforward to do, but
give a lovely result, and at only 3 rounds each they are really quick too!! The
pattern was so simple that I only needed to read it through once and then I was
off. It was so enjoyable to make these little stacks of bright circles :)

As I was finishing off the final,
square round, it became apparent to me to that trying to join these squares as
I went along was not going to show them off to their best. This got me
frantically searching for advice on crocheting or sewing together squares. In
the end, I went for crocheting as then you’re not dragging a whole length of yarn
through over and over again. When I started I followed Attic24’s advice to
crochet on the back, but I didn’t like the way this left the front looking so
after a few rows I unpicked everything and started again, crocheting the
front!! Lots of extra work, but well worth it I felt – I was very happy with
the result.
So far, I’m finishing up all the
patches for one row at a time, then crocheting the whole row onto the previous
one. To do this I put together the first row to begin with, without sewing in
the ends from the joinings (I normally sew in ends as I go along – I’m
terrified that I’ll never get around to finishing off if I leave them all until
the end!), so I had one complete strip. Then the squares for the next complete
row would be finished, and stitched along the sewn-up strip as the next row,
and so on and so on. At the end I will unpick the short threads that held the
first strip together, and then I can crochet up the lengths all in one go. This
way I won’t have joins to keep tidy, and there will be fewer ends to sew in
once it’s done.
The squares are a little smaller
than I had visualised before starting the pattern, and while I could of course
just make more squares, I’m thinking that I might do a really wide border to
add size instead. In my head it looks good, I hope it translates to reality…
Here is my latest little blanket
as a work in progress: I’m so happy with it so far, I wonder if any more of my
friends will get pregnant and require baby blankets…
 |
| Progress so far - 2 more rows to go, then I can crochet the lengths together and add a border |
No comments:
Post a Comment